
The Kount Shares His Drum Processing Playbook — Here's the Breakdown
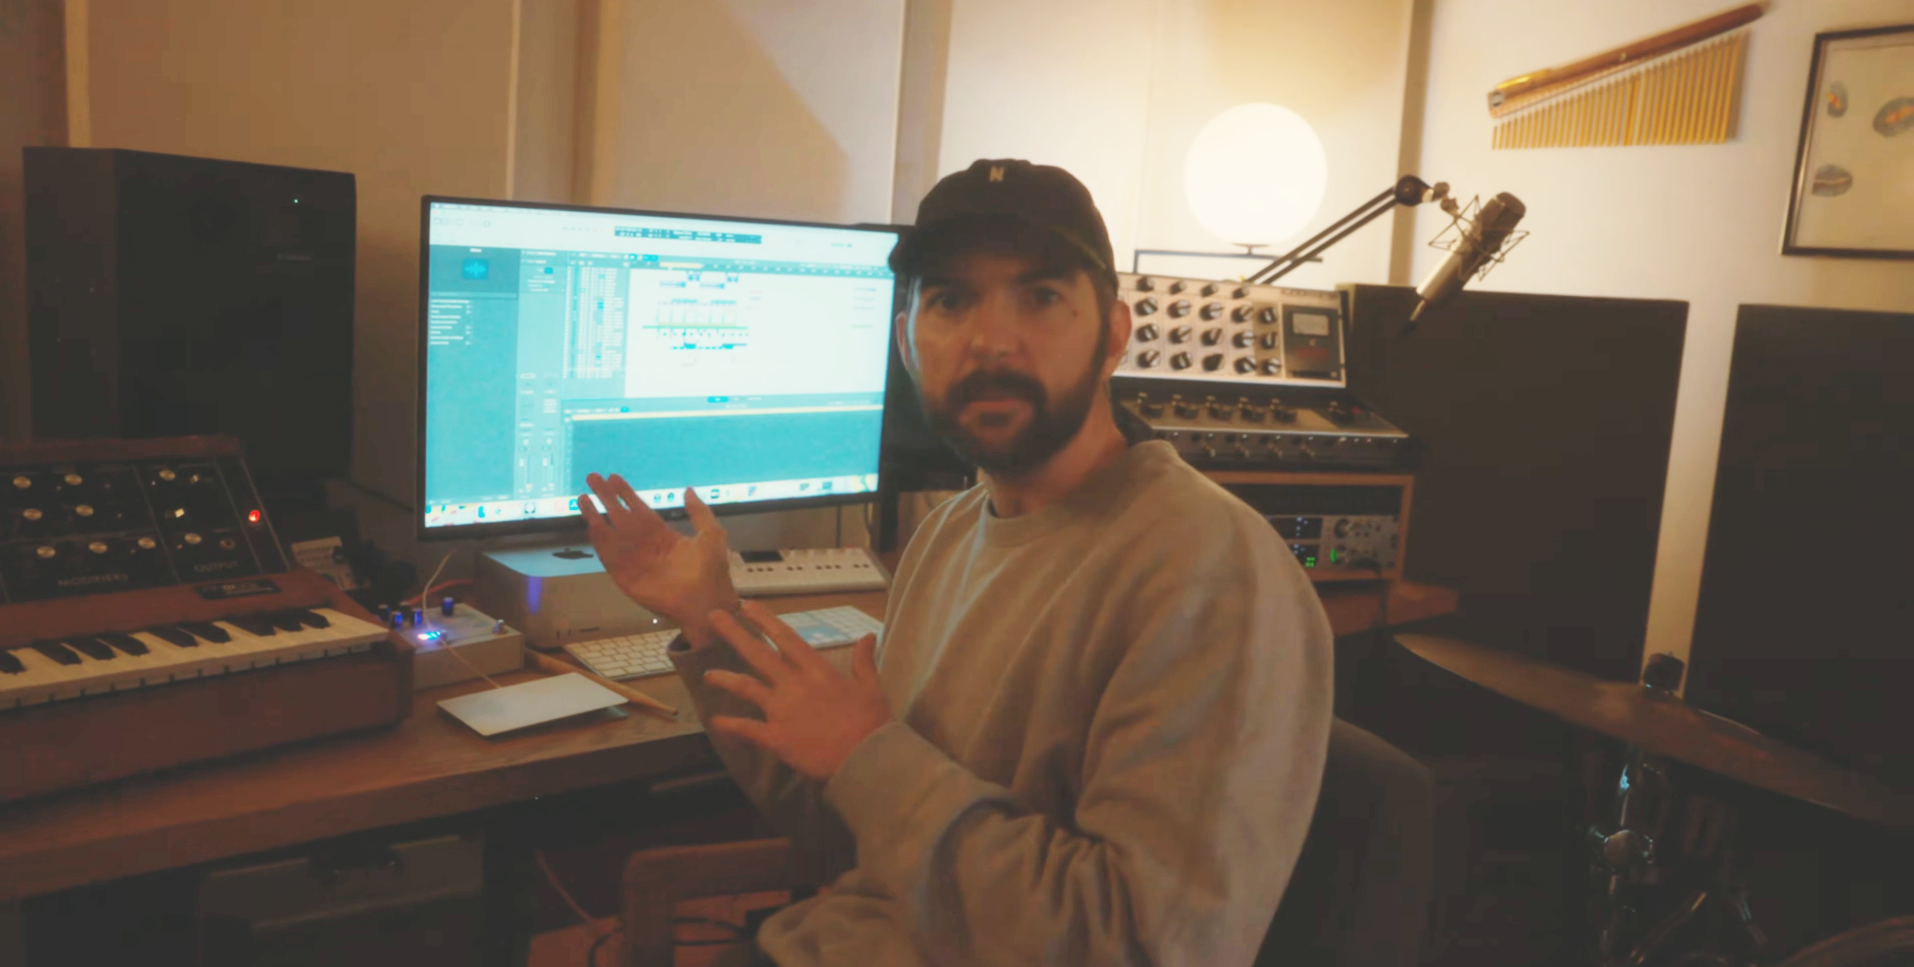
The Kount — the producer behind years of beloved drum and sample packs, known for crunchy, textured drums and the polyrhythmic pocket that's made him a go-to for artists like Madlib and Kenny Beats — just had one of those full-circle weeks. He turned up on Dillagence II, Busta Rhymes' tribute album built from unreleased J Dilla beats, and he's also riding the release of KOUNT X TAMUZ DRUMS, a collaboration pack combining his signature crunch with Tamuz's live drum breaks, and running a site-wide 50% off sale to celebrate. If you've been sitting on that pack — or anything else in his store — this is the week to grab it. To mark the occasion, The Kount sent out a newsletter breaking down the plugin chain he actually reaches for when mixing drums — framing it plainly: "mixing is as much a part of your sound as the music itself." It's a genuinely useful look inside a working producer's toolkit. Here's the rundown, organized by technique.
Grab The Kount’s samples on his website or via Splice, and subscribe to his newsletter to get more info about his creative process.
Saturation & Distortion
Saturation is what separates a drum hit that sits flat in a mix from one that has body and presence. Driving a signal into harmonic distortion — whether it's tube, tape, or transistor-style saturation — adds overtones that make a sound feel bigger and louder without actually raising the fader. It's also one of the easiest ways to get a mix element to cut through a busy arrangement, since added harmonics register in frequency ranges a plain volume boost can't touch.
The Kount's pick here is Soundtoys Decapitator, run on the "A" setting for subtle grit and body on kicks, and reached for again on the drum bus for glue. He also flagged Decapitator's hi/lo-pass filtering as a handy way to carve low-end space for the bass, and pointed to the "Dirty Slap" preset in the broader Effects Rack bundle as a quick way to add rhythmic character via its built-in echo. If you don't already own Decapitator, FabFilter Saturn 2 covers similar ground with more surgical multiband control, and Softube's Saturation Knob is a lighter, free option for a similar single-knob workflow.
Compression
Compression narrows the gap between a sound's loudest and quietest moments, but on drums specifically it can be used less for control and more for character — pushing the attack and sustain around to change how a hit feels, not just how loud it is. A compressor's attack and release settings shape whether you get more punch, more sustain, or that pumping, "breathing" quality some genres lean on heavily.
For this, he reaches for the Goodhertz Vulf Compressor, known for a specific lo-fi, slightly degraded compression sound closely associated with Dilla- and Madlib-style production. His workflow starts from the "Master Hump" setting and backs it off from there, with the "2-Bus Parallel" mode as his other go-to — used sparingly, since it can get messy fast. He noted it also works well on bass, not just drums. If Vulf isn't in your budget or you want a cleaner alternative with a similar vintage-inspired character, Waves’ CLA Classic Compressors collection delivers a faithful vintage compression with more predictable behavior, as will the stock glue compressor in your DAW of choice.
Reverb
Reverb adds space, but the type of reverb you reach for defines the character of that space. Spring reverb specifically has a metallic, boingy quality baked into hardware units for decades — it reads as vintage and a little unstable in a way that plate or hall reverbs don't, which is part of why it's stuck around in genres built on sampled and lo-fi textures.
Koal’s pick is AudioThing Springs, an in-the-box spring reverb collection he turns to when he doesn't want to route audio out to a hardware unit. He specifically called out the "GBS" and "Echoplex" spring models as favorites, along with some of the pack's shorter, more unusual verbs, and recommended pulling out the low end with the bandwidth slider to avoid mud. His one practical tip: turn off the built-in noise and save that as your default patch, since it stacks up fast across multiple instances. If you want to go deeper into spring reverbs, Pulsar Audio’s Primavera or Eventide Spring cover similar ground.
Transient Shaping
Transient shaping lets you push or pull a sound's attack and sustain independently of its overall level — which is different from compression, since it's reacting to the shape of the hit rather than squashing its dynamic range. It's especially useful for cleaning up drum recordings, controlling room bleed, or making a hi-hat or snare sit tighter without EQ or gating.
The Kount's tool here is XLN Audio's DS-10 Drum Shaper, which he uses primarily to pull sustain and attack down rather than push them up — a less common use case that he says works especially well for taming hi-hats and cleaning up full drum breaks by shrinking the sense of room around them. He also mentions using it on live bass to tighten the sustain. If you're looking for alternatives, Native Instruments' Transient Master and Slate Digital’s Transient Shaper are valid options with a streamlined interface.
Clipping
Clipping intentionally flattens a signal's peaks rather than smoothly compressing them, which lets you push a track's perceived loudness further than compression alone without triggering the pumping artifacts a limiter can introduce. Used carefully, it's one of the most effective tools for getting a mix to feel loud and dense without losing punch.
The Kount runs SIR Audio Tools' StandardCLIP on his master bus on nearly every mix, sometimes pushed hard, and also uses it more subtly on individual drum sounds to control peaks before final loudness processing. He prefers the "Soft Clip Pro" setting over the plugin's default. If you want to experiment with clipping AIR’s Soft Clipper and KNOCK’s Clipper are both well-regarded alternatives with slightly different clipping curves worth comparing against your own material.
The Takeaway
The bigger takeaway from his breakdown isn't really about any one plugin — it's the reminder that a mix is a creative decision, not just a technical one. Pick a handful of tools, learn their behavior inside and out, and don't be afraid to lean on them hard if that's what the track needs.
Grab The Kount’s samples on his website or via Splice, and subscribe to his newsletter to get more info about his creative process.
Disclosure: This site contains affiliate links. If you purchase through these links, I may earn a commission at no extra cost to you.